 Games, Gear, and Apps")
 Games, Gear, and Apps")


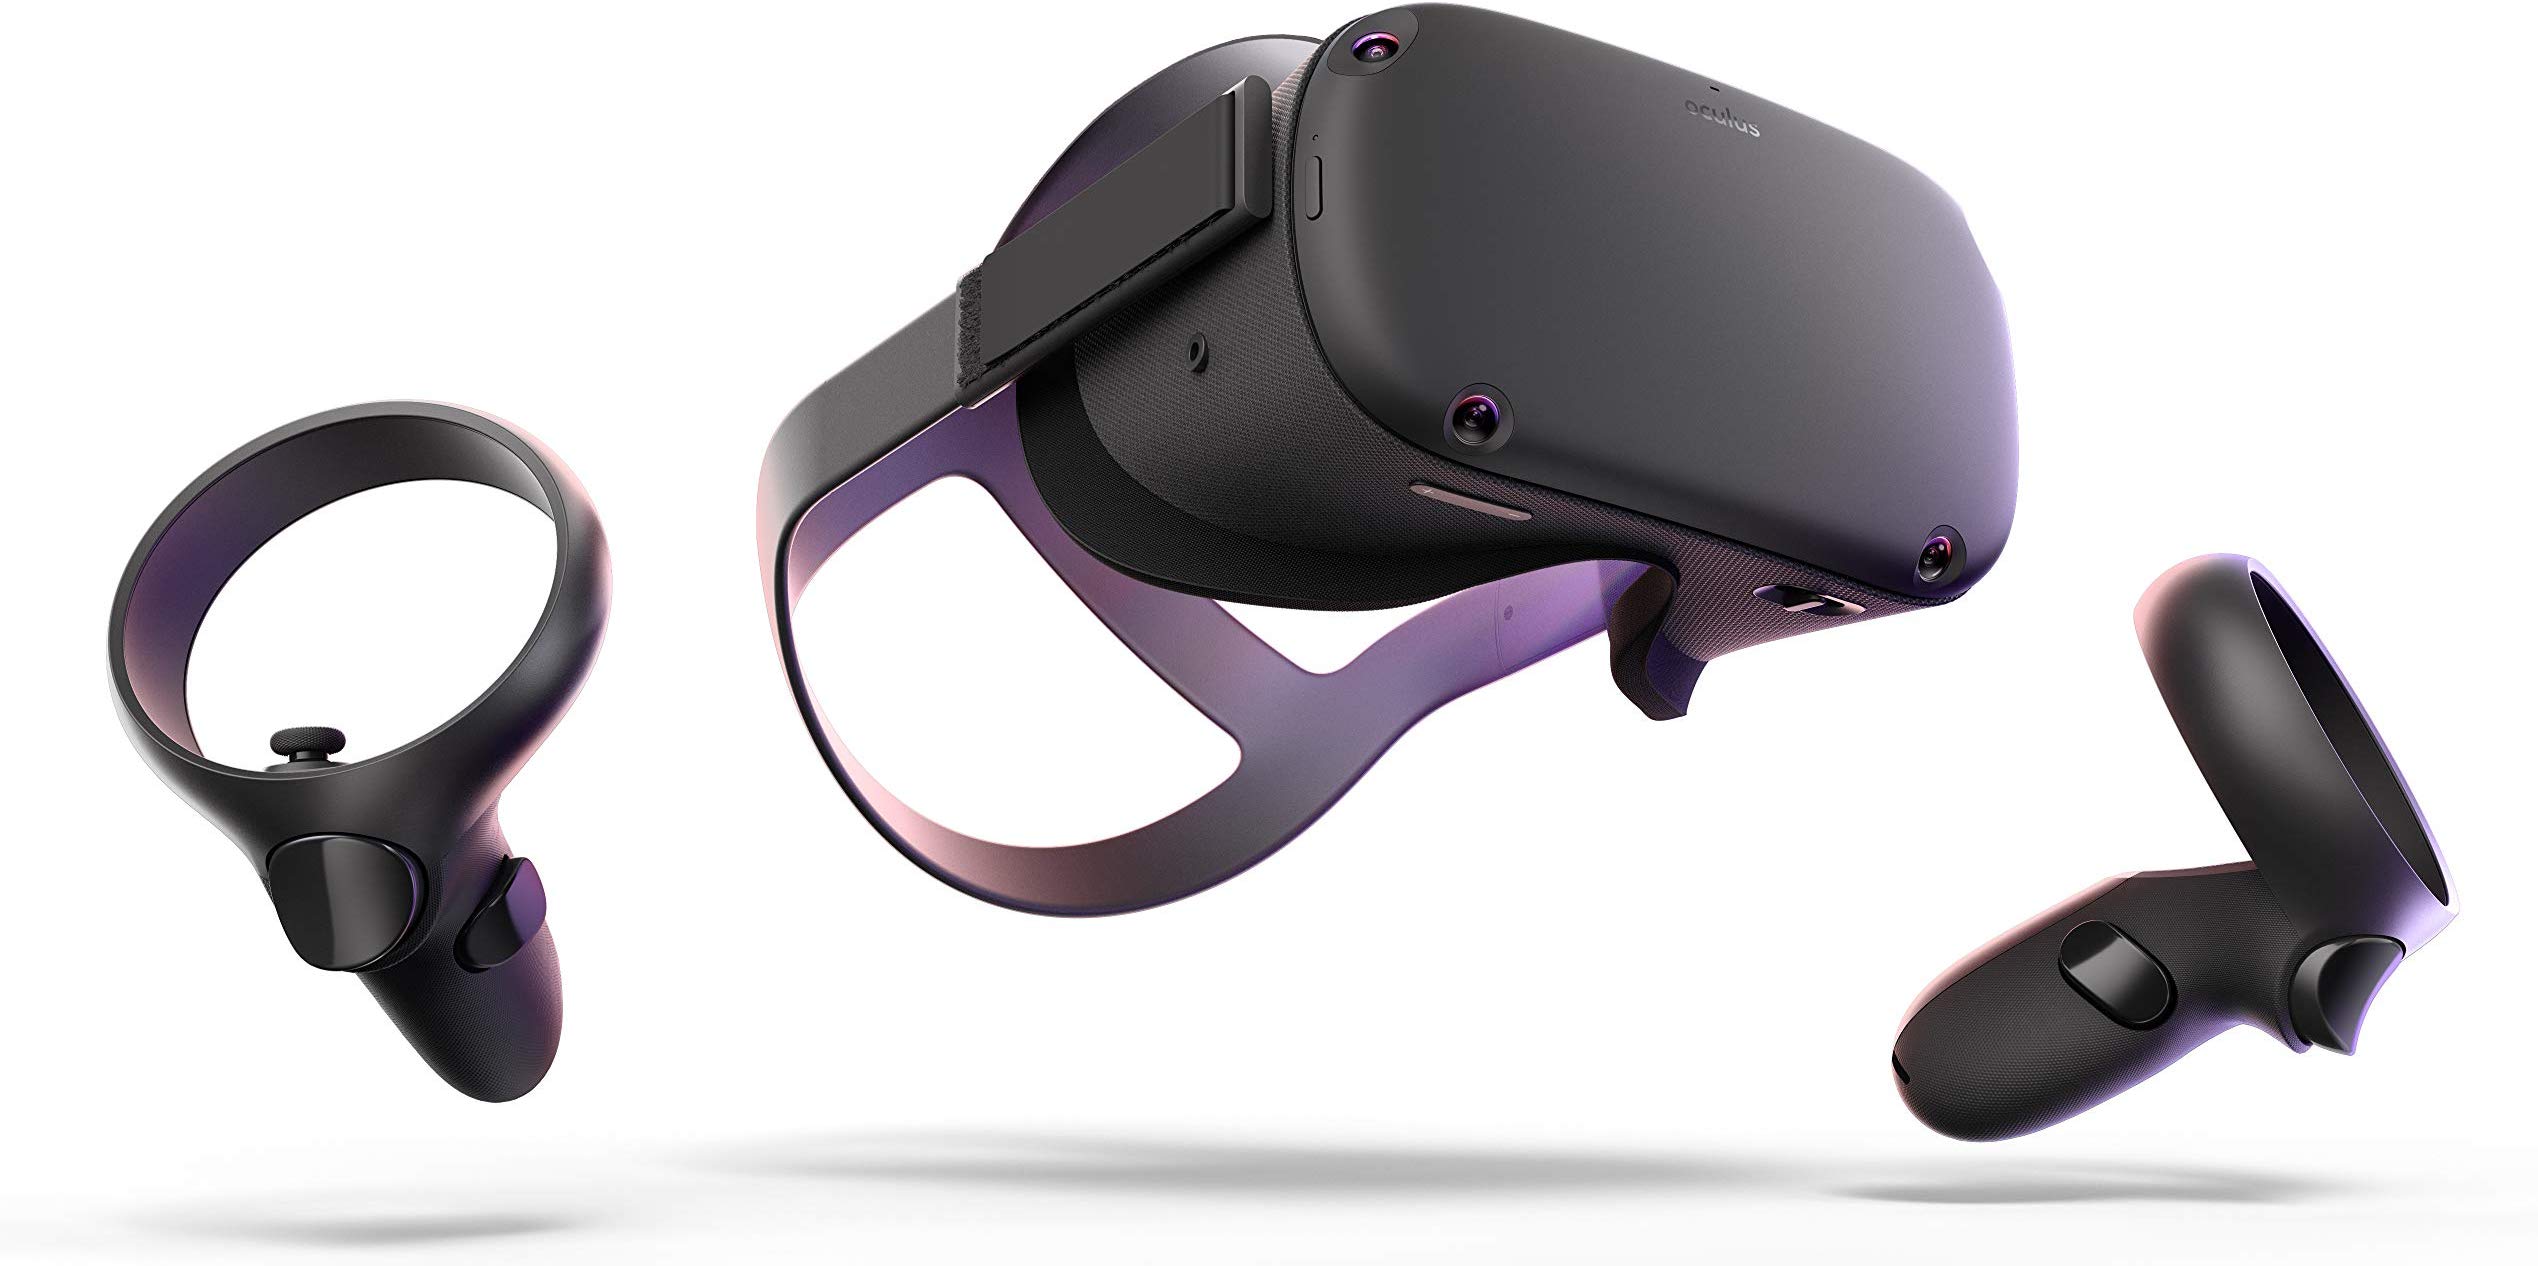
The Oculus Quest is arguably the best headset on the market right now, and for a good reason too. This headset has nearly the same power as any PC headset, while being completely standalone. The tracking is a full six degrees of freedom, and the Quest has a long battery life. Although this is one of the best VR headsets on the market, getting the Quest stream-ready can be a bit tricky.
There are multiple ways to go about this. One rout is staying wired with a longer USB-C wire, and the other is a wireless option through Chromecast.
In this guide, we will be focusing on the Oculus Quest specifically, and not a much as the software you will need to stream on all headsets. We have a full in-depth guide on streaming in virtual reality, if that is something you are looking for.
Streaming The Quest With Wires: How To Do It
What you need
The hardware you are going to need for the Oculus Quest streaming is quite basic. You will need a long (at least 10’ for full mobility) USB-C wire that will plug into your headset. This will plug into the same port that you use to charge the headset. The piece of hardware you will need next is a long 3.5mm audio auxiliary cable. This will connect your audio to the streams as well as you headset during the games.
After the hardware is taken care of, you will need to get scrcpy from GitHib. You will need to know which operating system you are running so you can get the .zip file. Once it is downloaded, you can go unload it on a file anywhere on your PC.
Once this software is safely on your PC, the next step is to configure with Streamlabs OBS which should already be downloaded. The guide to configure that with your computer and headset will be at the bottom of this guide.
Developer mode
If you have ever exported or imported files onto your Quest, you know that developer mode has to be off for you to access the files on the headset. For streaming on the headset you will need to change the headset back into developer mode. It is as easy as doing the following:
- Open the Oculus mobile app
- Go to settings
- Click on your Quest
- Open advanced settings
- Toggle “developer mode” on
If you don’t see the option for that there, then you will need to register your headset into a developer account, which is incredibly easy.
Connect
Once the headset is in developer mode, you are ready to connect your headset to your PC! First, connect the headset itself through your lengthy USB-C cable, and then the auxiliary cable. Going in this order will ensure the audio is connecting both the headset and computer, and not acting as audio output. In addition, the audio should be plugged into the Line-In port. You are on your way to gaming.
Audio settings
To make your audio work as you wish, there will be some settings that need to be changed before anything happens. The change is simple, as long as you have the right cable plugged into the right port. A 3.5mm aux cable into the Line-In source. Once that is checked, on your PC go to:
- Sound Settings
- Recording
- Right click on Line-in
- Click on properties
- Click the listen tab
- Lastly, check the box labeled “Listen To This Device”
After this has been done correctly, your audio from the headset should be outputting the audio on the default playback device from your PC.
Configure obs
This part is already explained at the bottom of this guide, but there are a few important parts to remember with the Quest. While working with scrcpy, you can choose to only show part of the display (for example, you can choose just the left eye) and your OBS will respond well with that. Inside of the OBS will you be able to choose the audio output, video output, and audio input. Make sure all fo your desired programs for streaming are going through OBS.
If you are going to be using Discord for chat while gaming, make sure the app and audio are running through OBS before you launch the game to ensure the audio is will be setup during gameplay.
Streaming Wirelessly From Chromecast With The Quest: How To Do It
What You need to wirelessly stream
The best and easiest way to stream on the Quest is through Chromecast. Although this is technically still in beta, it is the safest and best way to stream, especially while allowing you to stay wireless, use how the Quest was intended to be used. You will be able to stream and play in 100% real time through Chromecast as well.
This sent the only hardware you will need to operate this feature, but you will need a Chromecast 3 device (the Chromecast Ultra is the best option) that can be paired to your Quest. After that has been purchased, we start to get a little more tricky.
Because Chromecast cannot be plugged directly into a PC, so you need to find your way around that. The best option for that is going with an HDMI Splitter that can turn the Chromecast into a video input device, rather than the video output device it has been intended to be. After you have the splitter, you will need a capture card to get the video from the Chromecast to the screen of your PC. You will need a high-end card to make sure the quality of the video is as nice as it can be.
Lastly on the hardware you need, is a nice pair of headphones with a microphone. If you are going to be chatting with viewers and respond to comments in real time through Discord, this is very important. If not, you can forgo the rest of this section, just know you can plug headphones into the headset and be ready to play. For talking to viewers to be possible, you will need headphones that are bluetooth, audio-out capable, and spatial. This is a pretty easy combination to find. Once you have the headphones connected to the PC, the rest should connected as directed.
Don’t forget to connect the webcam (highly recommended) for a real immersive experience for your viewers.
Ready up the Quest
As opposed to the first method of streaming from your Quest, you need to make sure that the headset is NOT in developer mode. This is as easy as:
- Open the Oculus mobile app
- Go to settings
- Click on your Quest
- Open advanced settings
- Toggle “developer mode” off
Once that is taken care of, turn your attention to the Chromecast and make sure it is working properly. You can easily test it with your mobile device while using any video playback.
You will also want to make sure your phone, Quest, and Chromecast are all on the same WiFi network. After that, reboot each device for an optimal connection. Once that is taken care of, you are ready to move onto the next step.
Connect the hardware to the pc
This is where you want to put your reading goggles on and make sure you do this right. None of this will matter if you mess up here. essentially, you need to plug your Chromecast into the HDCP splitter/stripper “in”side, then plug the “out” of your stripper into the capture card “in” side. After that, you get to plug it into the PC. Most times from your capture card, that will be a USB cord.
It will be a little messy with all of the wires going from thing to thing, but it is what is. at least you’re going to be wireless with the headset.
Casting your quest to the pc
If you’ve made it this far, congratulations. Next, you are are going to go:
- Open the Oculus App on your mobile device
- Tap the “Cast” button on the top right of the home screen
- Select the name of your Chromecast device
- Select the “Normal” quality
- Tap on “Cast”
If you start to experience problems with connecting after that, it is pretty easy to trouble shoot. Simply check the networks and make sure they’re all the same on each device, restart each device, and/or turn the Quest to developer mode, and then back off. One of the three options should work, or all three together.
Putting the audio and video together
If you experience some lag between the screen and the headset itself, that is completely normal and it is an easy fix. The audio will also be behind slightly, so that is something you will want to fix so when you go live, you can make sure its a fun and immersive experience for your viewers. Here is how you fix it:
- Open your OBS
- Click on the webcam video capture device
- Click on filters
- Click on the plus icon
- Select render delay
- Set to an appropriate delay to match your audio and video
It may take some time to get the right setting for you individual PC, but it should be somewhere around 160 milliseconds. Finding your sweet spot for syncing may take a few minutes. When you find it, make sure it is saved before moving on to the next step.
Getting your voice on the stream
If you are planning on chatting with others and responding to comments while you play, pay attention. If not, disregard this section. When talking to those in your stream, you will need a bluetooth headset that can be connected through a USB dongle. It creates clear audio and makes it a easy setup through OBS. This shouldn’t take more than a few minutes.
Setup with obs
Although this should already be setup, you might have to make some changes to make sure this software is ready to roll with your Oculus Quest. Through OBS, you will want your Chromecast full screen (recommended) and the casting of you smaller in a corner. This should be optimal for the viewers.
This is where you want to go into your OBS software and make sure the audio is going through the software. It should be the same as any streaming headset. Make sure the chat audio is funneling through OBS just as the other audio from and to the headset as well. This should just be a quick setup.
Streaming On The Quest Wirelessly Without Chromecast: How To Do It
What you need to get started
The only hardware you will need to get this method off the ground and running is a regular length USB-C to start the pairing of the Quest and your PC. You will need to connect the two each time you set up your stream, which can get a bit tedious at times. After you have the USB-C (the included charging cable will work great) you can move on to the software you will need.
The full software you will need to buy is called Vysor, and it is $40. It is a lifetime subscription to their best and latest versions. It is well worth it, as the free trial is limited in software and time. Vysor is a form of wireless adb. This allows your headset and computer to communicate with each other, making the stream wireless for you.
With this method, there is a big sore spot. The audio is completely unconnected to the stream, so you will have to get creative with a way to get your quest audio to your audience. The best way I have figured out is having a wireless bluetooth headset around my neck, with the microphone pointed at the speakers of the Quest. The microphone input will need to be going through your OBS to make sure your streamers hear it, but this method seems to work just fine.
For those looking to chat with their friends and respond to chats inside of their games, you can use the same microphone as you are using to pick up the game audio. It can be a bit muffled and not as clear as you’d like, but that is a trade-off by streaming wirelessly without Chromecast.
After that, you will still want to setup your web cam so people can see what you are doing in real time and in real space. This will help your streams and will help your viewers feel more immersed inside of what you are doing. You don’t need a camera on you to stream, but it certainly helps.
Put the headset in developer mode
Putting the headset in developer mode is the first step for a reason. It needs to be done before anything else, and nothing will work if your headset is not put inside of developer mode. To do that, it is pretty simple. You will want to:
- Open the Oculus Mobile App on your paired device
- Tap on the settings menu
- Tap on the Quest option
- Tap on advanced settings
- Turn developer mode on
If your headset doesn’t have this option, you will need to register your Oculus account as a developer account. Through their website, this is fairly quick and easy, and shouldn’t be a problem for anyone.
Connect your quest
This next step is going to be the easiest step of them all. All you need to do is connect the headset to your PC through the charging port on the Quest. Because it is in developer mode, the headset won’t be a file, instead a device that is plugged in. Make sure the device is recognized and trusted (may have to select “trust” inside of the headset) by the PC before moving on.
Setup and connect vysor
If your headset was connected properly, when you open up Vysor, your PC should recognize the Quest as an android device. Once it is inside of Vysor, you can go to the settings to make it everything you want it to be. You can mess with the resolution, bitrate, and much more. I have find that if you are going to mess with anything in there, make sure the output is as much as possible. Your Quest and PC should be able to put out the highest settings.
The output window in Vysor will look like two different windows of lenses (what your headset display looks like to your PC) so to not confuse your viewers, the best option is to crop one of them out through your OBS. Now that you have the view you want, you will need to setup the wireless setting. This is pretty effortlessly through Vysor. You will want to:
- Click the wireless option inside of the software
- Wait for the signal to reboot
- Unplug your Quest (do not put it on yet)
- Wait for the signal to reboot and repair one more time
- Make sure it is still recognized in Vysor
If you made it that far, your headset is ready for streaming! Now once you have your audio and video synced, along with your web cam, you can start earning money.
Sync your video and audio together
If you are using a web cam to show what you are doing in real life, you will recognize that the footage is slightly behind the audio and video from your headset. This is usually the case, so the OBS has made it quite simple to match your two different streams.
Open the OBS software and click on the Video Capture Device source, and go to the filters section. This will give you the option to mess with the render delay after you click on the plus button. Once you are here, you will be able to adjust the delay. I found that anything below 180 milliseconds will do the trick. Once you have that taken care of, we can move on.
Putting game audio in the stream
As we mentioned a bit earlier, this method of streaming from the Quest has one big downfall. Vysor doest allow the game audio to be ran through the PC and streaming software. To get around that, you will need to get a wireless bluetooth mic to be placed near the Oculus speakers. This will pick up the game audio as well as your voice, and if it is ran through your OBS, the streaming audience should not be able to tell a huge difference.
Make sure you obs is running and activated
Making sure you download Streamlabs OBS was the first thing you needed to do before starting a stream setup. You should have it configured and ready to stream at this point, but if you have not done it yet, now would be the best time.
Lastly before you start your stream, you’ll want to make sure the audio is setup up through the bluetooth and running through OBS as well. This will be important for your audience, as many viewers won’t stay on a stream without any audio.


